GnuCash Accounting Software on the Raspberry Pi

I’ve recently had the need to use some Accounting software to dive into some Revenue and Expense allocation for a company to understand the business better.  There was the hurdle of downloading and buying Quickbooks desktop version or buying a online version instance for a month maybe more, and I didn’t know the Quickbooks user interface.

At one time, many years ago, looked at GnuCash and thought it had potential but never spent the time.  Now that I had the need and revisited GnuCash, much to my surprise, the open source software had improved and I decided to take the plunge and learn it.

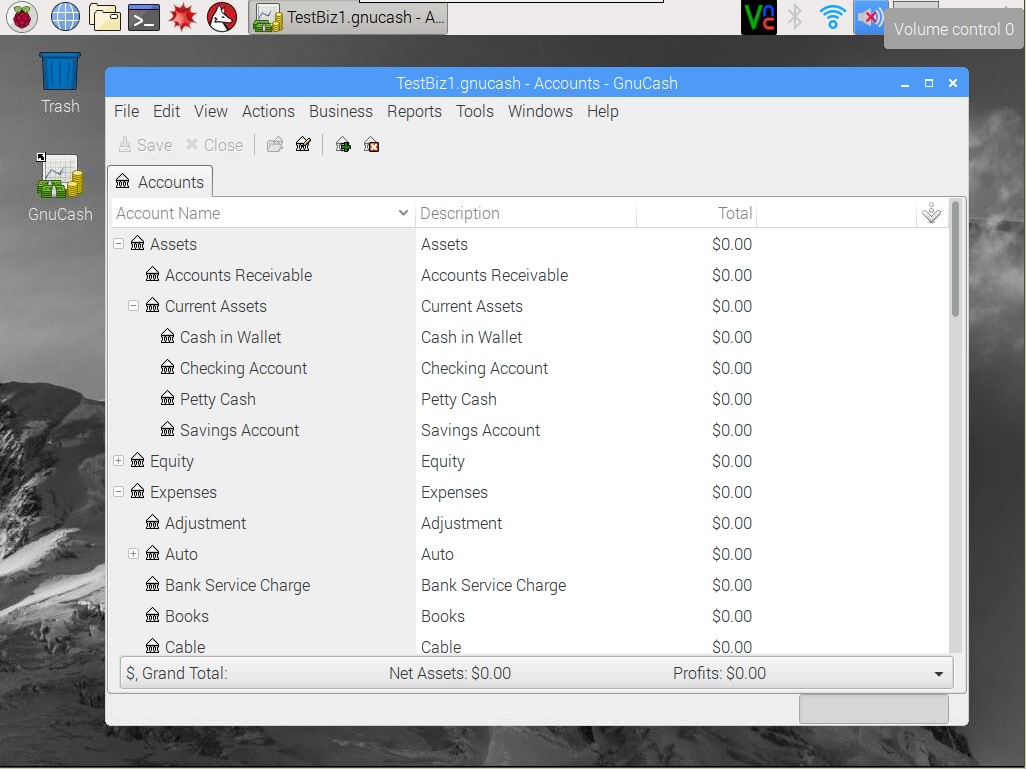
I do have an accounting class under my belt from graduate school, so the whole double entry accounting was not new to me, and I was glad to see how the concept of accounts was implemented in GnuCash.  Long story short, I was able to enter about 10 months of bank account data into GnuCash, then allocate expenses to get a quick picture of where 2 major projects were with respect to their direct costs and indirect costs.

I’m thankful that GnuCash was an option and it took me several hours to get the answers I was looking for about this business.  If I used Quickbooks, it likely would have taken me longer and had a cost to it.

Here are a couple screenshots of the GnuCash application, It’s easy to use and free on Linux, Windows, and Max OSX.  I tried the version on Windows also, the data file (FILENAME.gnucash) can be copied/moved and used on Linux too, I tested editing on both instances of the GnuCash data file.

To install GnuCash on your Raspberry Pi, simply run the following commands from a command line:

  • sudo apt-get update
  • sudo apt-get install gnucash

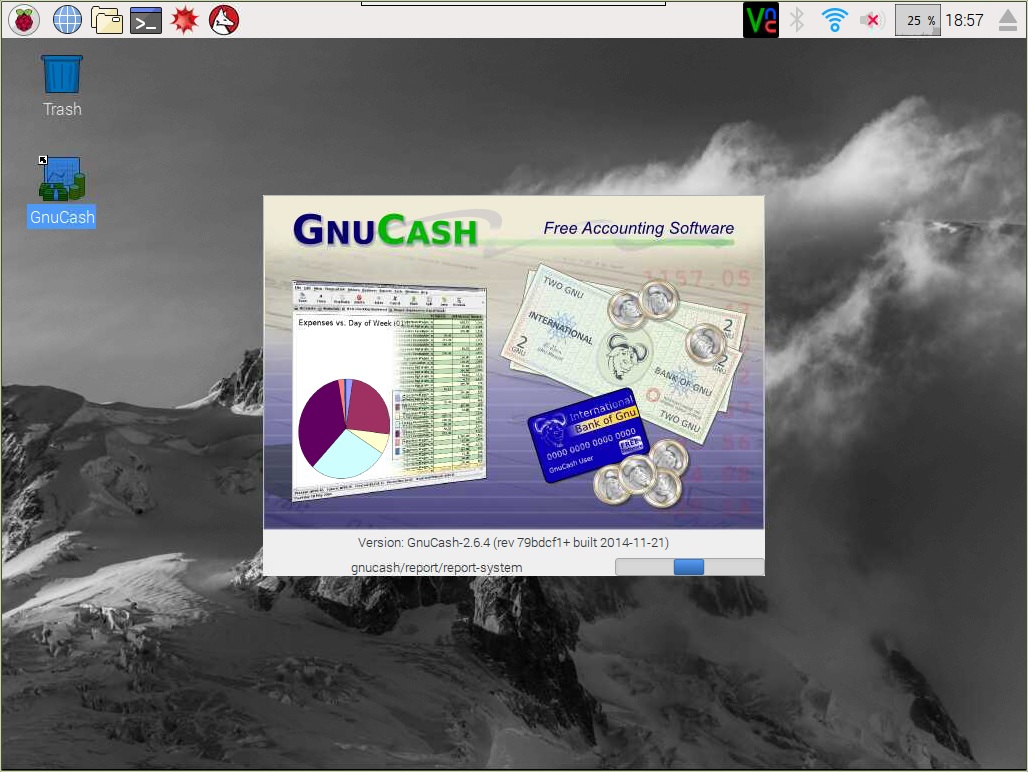
When GnuCash is installed a new icon will appear under the Office grouping.  The version that was installed was GnuCash 2.6.4, and I copied this icon to the desktop for frequent use.

rpi3gnucashmenu

rpi3gnucashsplashscreen

rpi3gnucashgui

Raspberry Pi desktop update PIXEL

I’m finally getting around to playing with the new desktop interface that was released on 9/28 … PIXEL.  If you want to read more on it and how to install, click on this link to see the raspberrypi.org blog.

This is a very NICE update to the previous user interface and I think kids and adults are going to like it.  The other updates are awesome as well like turning on/off the wifi, RealVNC server, and the SenseHAT emulator.

We computer users have become used to a nice user experience via many different products, nice to see the Raspberry Pi Foundation put some effort into this.

Thanks a bunch!

Here are some screenshots of my Raspberry Pi 3:

rpi3desktoppixel

A whole new set of icons throughout the desktop and beautiful photos to set as a background image.

rpi3desktopchromiumbrowser

A new browser based on Chromium vs Epiphany.

rpi3desktopfilebrowser

More icons in the file browser.

Raspberry Pi 101 presentation and hands on station at RRPS NAPAC Meeting

On Tuesday this week, September 27, 2016, I presented the Raspberry Pi computer to the Rio Rancho Public Schools (RRPS) – Native American Parent Advisory Council meeting.  I had a 15 minute slot to cover this new little computer and show how it can be used as a tool to begin a journey learning about computer science, programming, and how to tinker with electronics.  I passed out two Raspberry Pi 3s and one Raspberry Pi Zero for the show and tell portion.  The audience was enthusiastic and really liked having the four Raspberry Pi 3s in the back of the room to check out and play with.  Here is a link to my presentation and some pictures of the event.  I’m looking forward to taking this talk to some of the local tribes here in New Mexico.

rpi-101-presentation

RPi101 Presentation

RRPS NAPAC Meeting

RPi Kids Station